

ABOUT US
ABOUT US
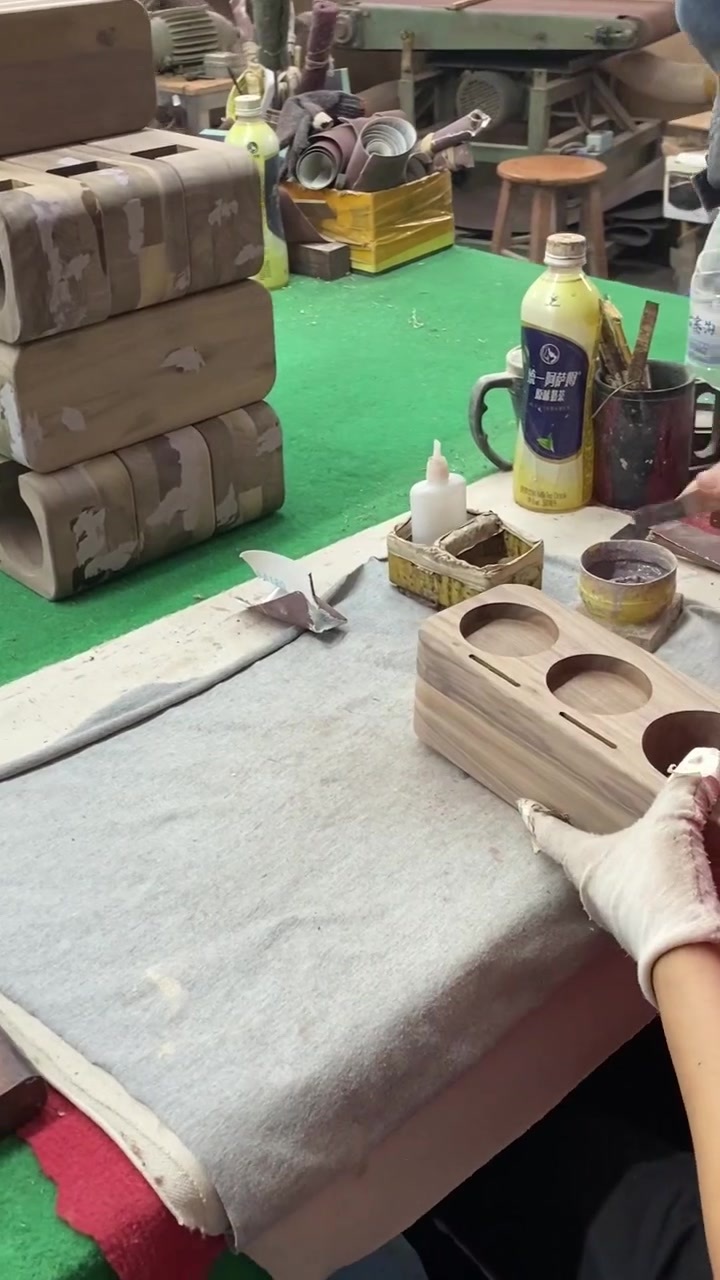
Wood Surface Puttying and Finishing Process
Release time:
2025-06-03

I. Process Objectives
- Filling Defects: Repair natural or processing-induced flaws on the wood surface, such as cracks, wormholes, knots, nail holes, and dents.
- Smoothing the Surface: Create a uniform and smooth wood surface as a foundation for subsequent painting (e.g., spraying, varnishing, polishing), preventing issues like sagging or color difference caused by an uneven base.
- Enhancing Aesthetics: Adjust the putty color to match the wood's texture and hue, ensuring consistency and improving overall appearance.
II. Key Materials and Tools
1. Putty Materials
- By Material:
- Oil-based Putty: Made with base materials like boiled tung oil or resin, mixed with fillers (e.g., talcum powder, gypsum powder) and solvents. It features strong adhesion and water resistance, suitable for outdoor or humid environments, but dries slowly and has a strong odor.
- Water-based Putty: Uses water-based resin as the base, offering good environmental friendliness, fast drying, easy sanding, and convenient color adjustment (water-based color pastes can be added directly). Ideal for indoor furniture and light-colored wood.
- Polyester Putty (Atomic Putty): Primarily used in automotive repairs, suitable for deep dents or high-strength filling in woodworking. It dries rapidly and has high hardness but requires a curing agent and must be applied quickly (short working time).
- Special Putty for Wood Wax Oil: Formulated to match wood wax oil, suitable for natural-finish coatings to avoid affecting the oil's penetration.
- By Color:
- Universal Type (white or light gray): Requires color adjustment with pigment powders or pastes according to the wood tone.
- Pre-colored Putty: Pre-matched for specific woods (e.g., oak, walnut, pine), ready for direct use.
2. Auxiliary Materials
3. Tools
III. Operational Procedures
1. Surface Pretreatment (Before Puttying)
- Clean the Surface: Remove dust, oil, and wood chips with a dust brush or damp cloth. For grease residues (e.g., on pine knots), use alcohol or a specialized cleaner to ensure good putty adhesion.
- Base Sanding: Lightly sand the surface with 80#–120# coarse sandpaper to remove burrs, protrusions, or old paint (for refurbished items), smoothing the edges of defects for natural putty integration. Note: Re-clean the surface after sanding to remove dust.
2. Putty Mixing
- Color Adjustment: Blend putty with pigment powders/pastes to match the wood color (add gradually to avoid over-darkening). Test the color on a scrap piece first, and compare after drying until it matches the wood or target tone.
- Consistency Adjustment: Add a small amount of thinner (e.g., turpentine) to oil-based putty or water to water-based putty, adjusting to a "paste-like" consistency—thick enough to adhere to the knife but smooth for application, avoiding dripping or excessive thickness.
- Polyester Putty Mixing: Mix polyester putty with a curing agent in the ratio of 100:1–2, stirring thoroughly (use within 5–10 minutes before curing).
3. Putty Application
- Small Defects (e.g., nail holes, wormholes):
- Use a small putty knife to apply putty perpendicularly to the wood grain, filling the defect completely with a slight overfill (to compensate for shrinkage after drying).
- Smooth the surface along the grain to remove excess putty, ensuring the edges blend seamlessly with the wood and avoiding knife marks.
- Large Dents or Cracks:
- Apply in 2–3 thin layers (each ≤1mm to prevent cracking), waiting for each layer to dry before the next.
- For the final layer, scrape at a 45° angle along the grain to flatten the surface, and clean up excess putty promptly.
- Precautions:
- Avoid puttying when wood moisture content exceeds 15% to prevent moisture-induced detachment.
- Apply putty along the wood grain as much as possible to reduce sanding difficulty.
4. Drying and Sanding
- Drying Time:
- Water-based putty: 1–2 hours for surface drying, 4–6 hours for full cure at room temperature (25℃).
- Oil-based putty: Slower drying (12–24 hours at room temperature); accelerate drying in a ventilated area, but avoid direct sunlight.
- Polyester putty: Cures in 5–15 minutes, suitable for urgent repairs.
- Sanding Steps:
- Initial Sanding: After drying, use 120#–180# sandpaper to remove protrusions and burrs, achieving initial flatness.
- Fine Sanding: Switch to 240#–320# sandpaper, focusing on blending the putty edges with the wood to eliminate obvious boundaries.
- Extra Fine Sanding (for high-gloss finishes): Use 400#–600# sandpaper until the surface is mirror-smooth (recommended before varnish application).
- Flatness Inspection: After sanding, touch the surface or inspect under side light. If dents or particles are found, repeat the puttying-sanding process.
5. Subsequent Coating Treatment
- Primer Sealing: After puttying and sanding, apply 1–2 coats of primer (selected based on the final coating, e.g., water-based primer, PU primer) to seal the wood surface, preventing uneven paint absorption and color difference on puttied areas.
- After the primer dries, lightly sand with 320#–400# sandpaper to remove particles and enhance topcoat adhesion.
- Topcoat Application: Choose varnish, colored paint, wood wax oil, etc., according to requirements, and apply using conventional methods (e.g., brushing, spraying) to ensure consistency between puttied areas and the overall coating.
IV. Common Issues and Solutions
- Putty Cracking:
- Cause: Excessive single-layer thickness, high wood moisture content, or mismatched putty-wood flexibility.
- Solution: Apply in thin layers, maintain wood moisture content at 8%–12%, and use elastic water-based putty.
- Color Inconsistency:
- Cause: Inaccurate color adjustment, insufficient sanding, or unsealed putty areas.
- Solution: Test colors multiple times during mixing, inspect color after sanding, and use primer to uniform substrate absorption before coating.
- Rough Surface or Particles:
- Cause: Incomplete sanding, unswept dust after putty drying, or impurities during application.
- Solution: Thoroughly clean with a dust cloth after sanding, and keep tools and the work environment clean during application.
- Putty Detachment:
- Cause: Uncleaned surface with oil stains, or mismatched putty-wood properties (e.g., oil-based putty on water-absorbent wood).
- Solution: Clean the surface thoroughly before puttying, and select putty based on wood characteristics (e.g., prefer water-based putty for oily woods like pine).
V. Precautions
- Safety and Environmental Protection:
- Ensure ventilation during oil-based putty and polyester putty application; wear a mask and gloves to avoid inhaling solvent vapors.
- While water-based putty is more eco-friendly, still protect against dust during sanding.
- Wood Characteristics Adaptation:
- Softwoods (e.g., pine, fir) with large pores may require slightly thinned putty for better penetration; hardwoods (e.g., oak, walnut) with dense surfaces need putty color-matched precisely to the wood.
- Seasonal Influences:
- In humid environments (e.g., rainy seasons), extend putty drying time and use a dehumidifier if needed; in low temperatures, gently heat the area (e.g., with a space heater), but avoid direct baking of the wood.
Previous
Next
Related Videos
Online Message
Filing in your phone and E-mal information willhelp us to get in touch with you in time and solve your problems as soon as possible.